Keyboard build - va69m with Zealios switches
I've always loved Varmilos keyboards and their amazing build quality. Unfortunately the firmware is often really bad and leave a lot to wish for, especially the lack of programmability. As with most mass produced keyboards the selection of switches are also quite slim. As for me who like tactile switches the choice is often only between brown and clear switches. The solution is easy, a custom build with a Varmilo case but with better switches and support for programming.
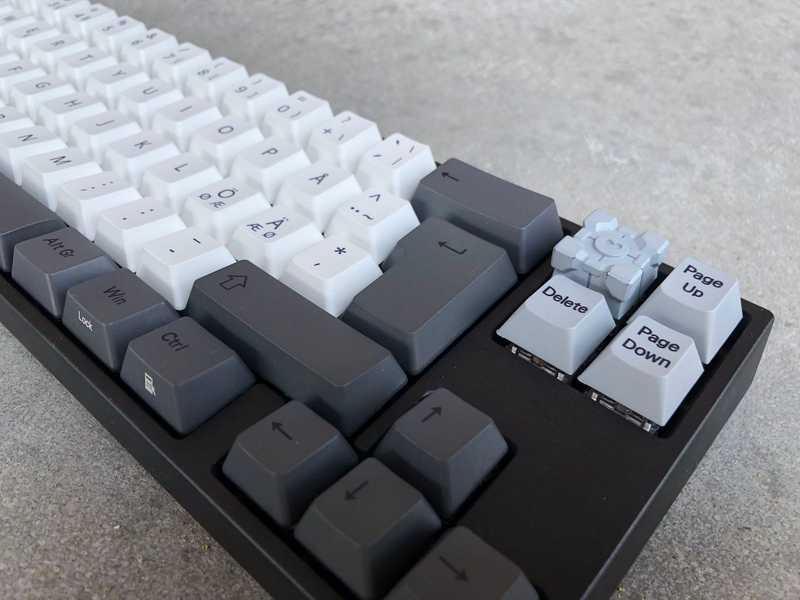
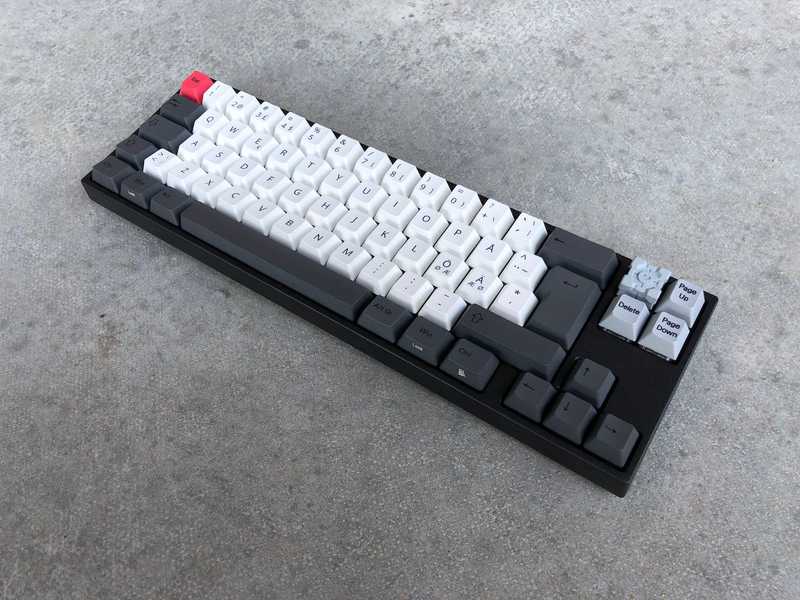
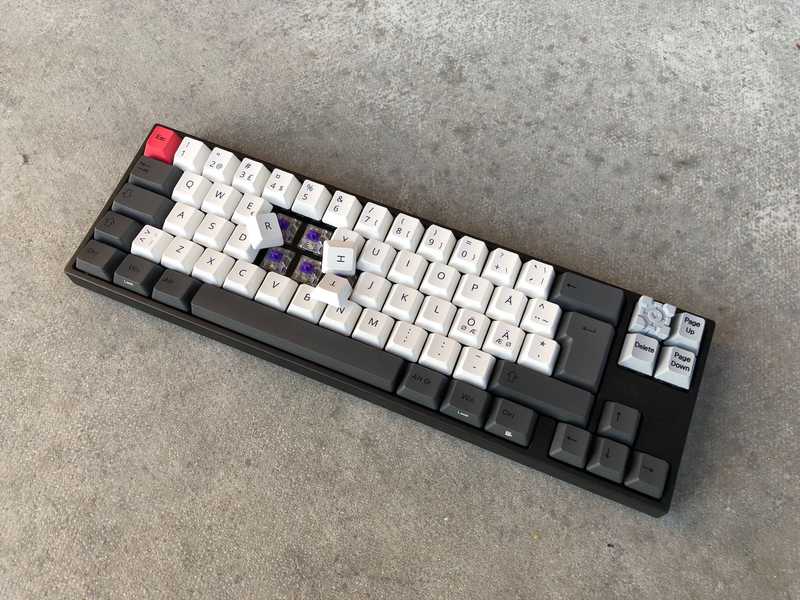
Here's a teaser picture of the finished keyboard.
Here's the part list.
- Case: Varmilo va68m/va69m v2 black aluminum
- PCB: LFK78 - 68Key revK from LFKeyboards
- Plate: VA68M ISO (which actually is a 69 key) from LFKeyboards
- Switches: Zealios v1 65g
- Keycaps:
- Varmilo Mac White ISO
- Varmilo Dark Gray ISO
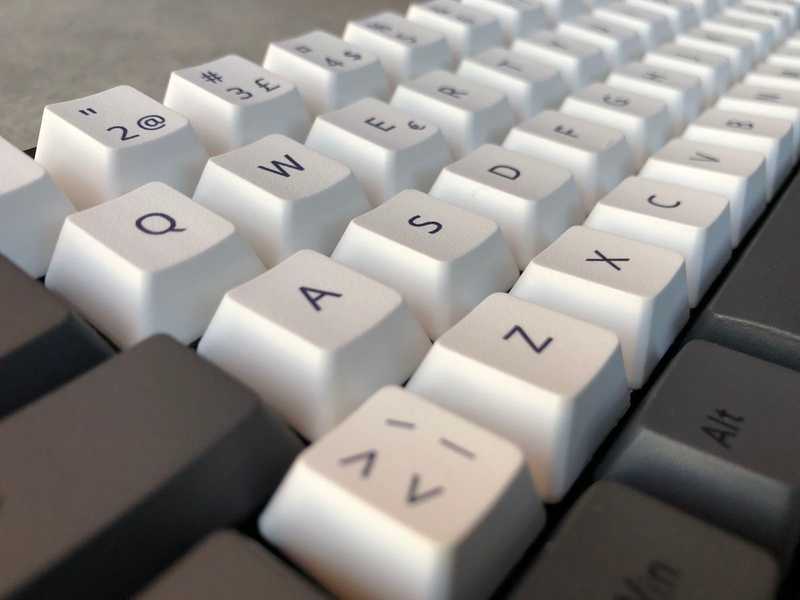
- Nordic layout PBT keycaps from KBDfans
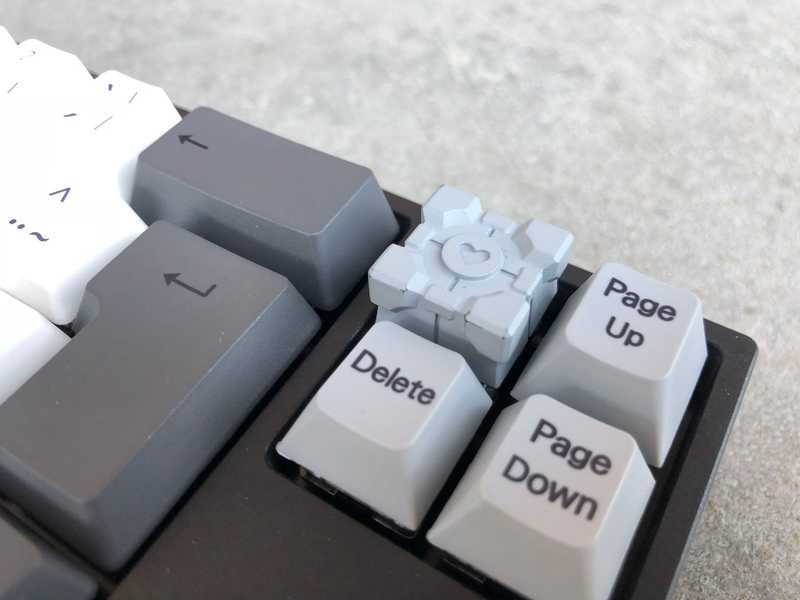
- Companion Cube artisan from Clackeys
- LEDs: Varm white 1.8 mm - Random China bulk
- Stabilizers:
- ZealPC clear PCB mounted
- Cherry original Plate mounted
Enough with the writing, let's look at some pictures 😍
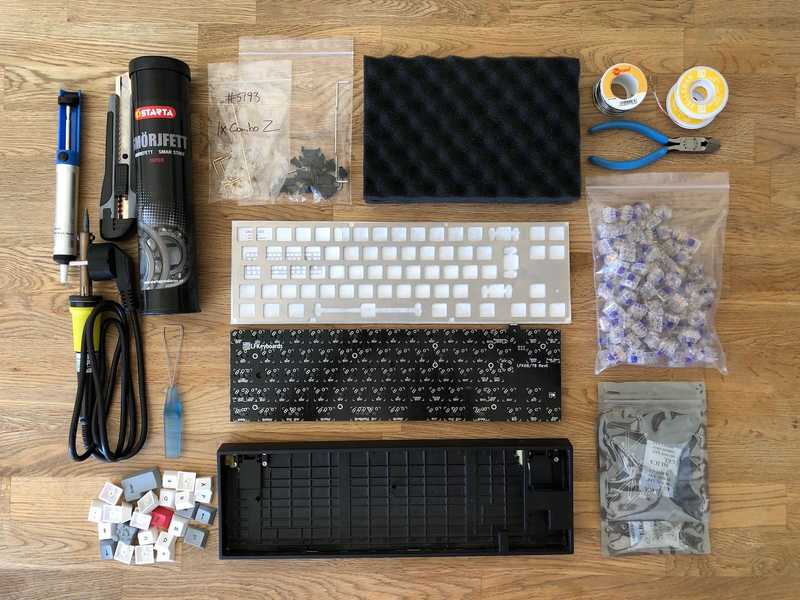 The (almost) complete setup before the build.
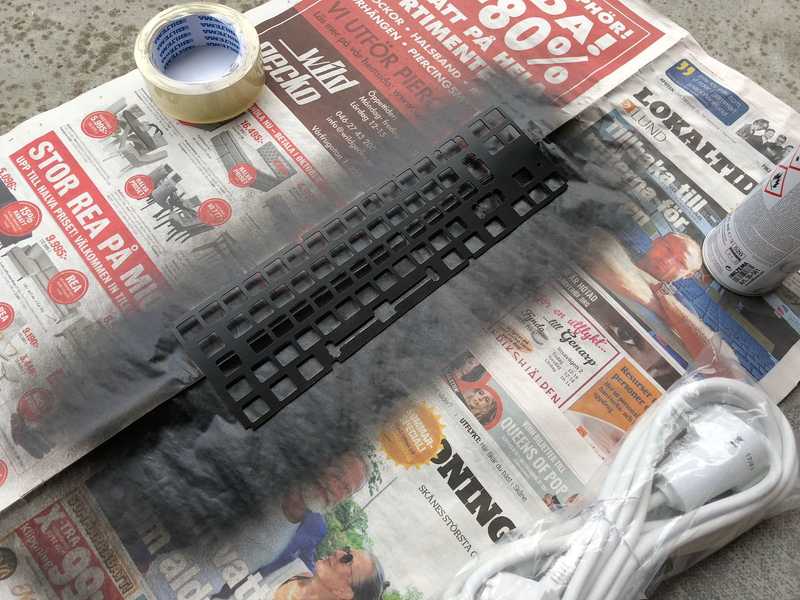 Sprayed the plate black to better match the case.
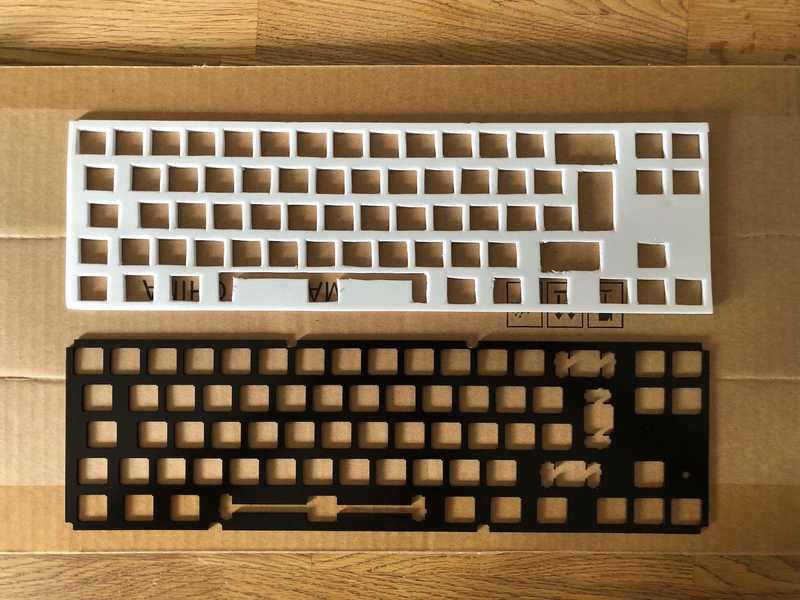 For a better sound dampening I cut foam rubber to be placed between the plate and PCB.
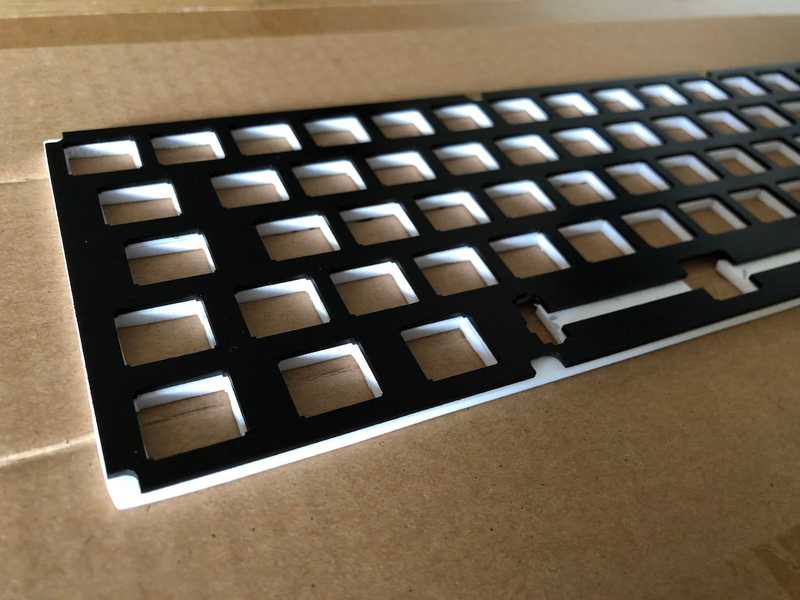 A perfect fit! Still some adjustments needed but overall it looks good.
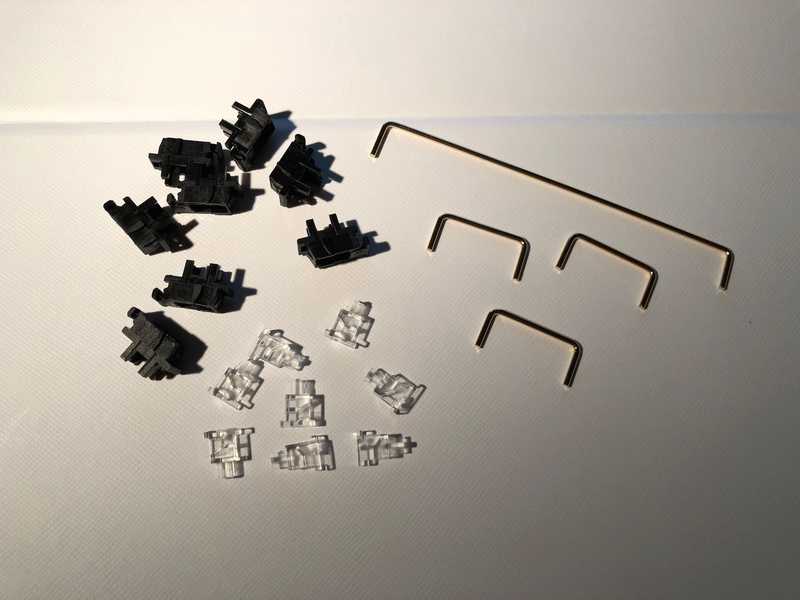 Putting together and lubing the stabs. Unfortunately the PCB didn't support PCB mounted stabs (only PCB mounted switches
for some reason) so I had to use parts from different sets.
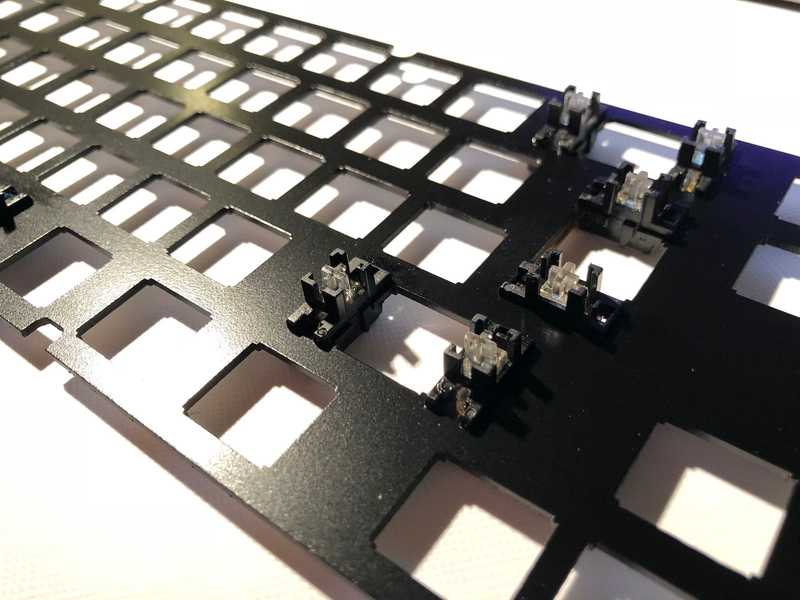 It worked out pretty good anyway. I needed to put some hot glue to keep the stabs in place but other than that they are
smooth as butter.
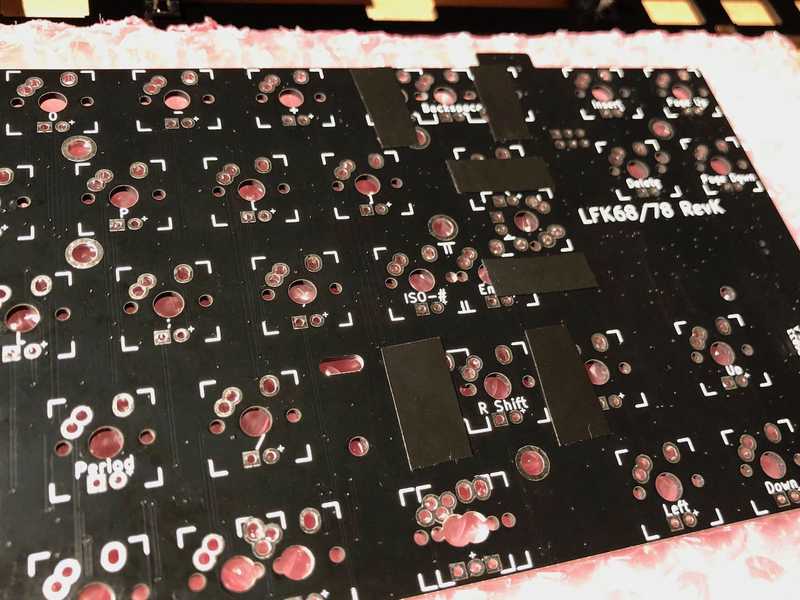 To reduce noise and protect the PCB I put electric tape where the stabs hit the PCB.
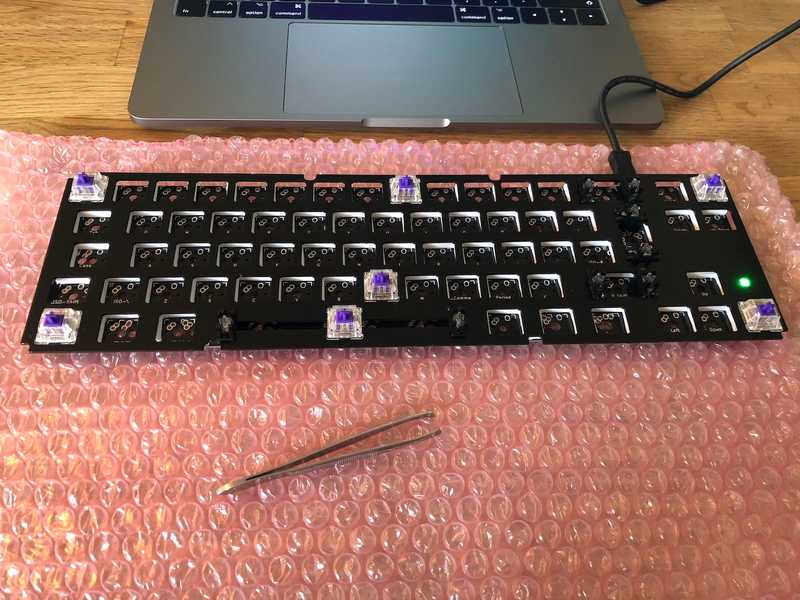 Before soldering all the switches a good idea is to make sure the PCB works. That is easily done with a pair of
tweezers and an application showing activated keys.
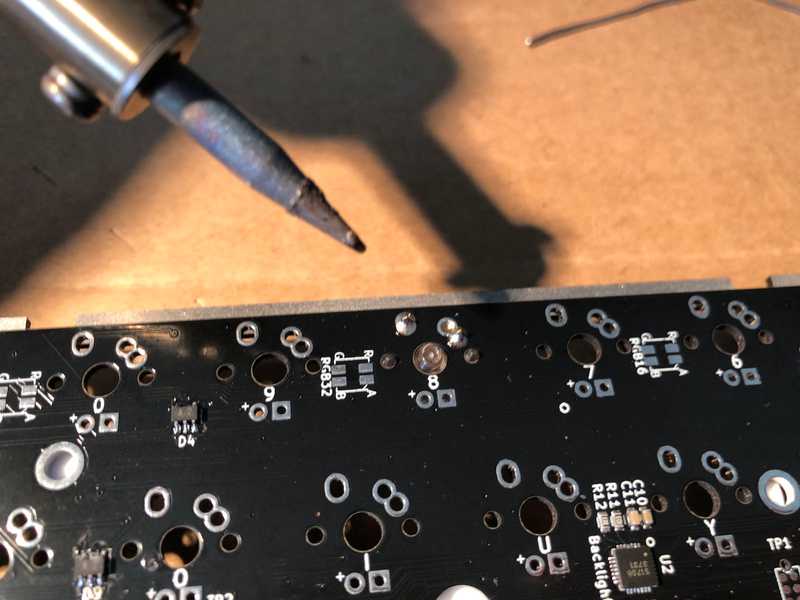 When all keys work it's time to pull out the soldering iron 👍🏻
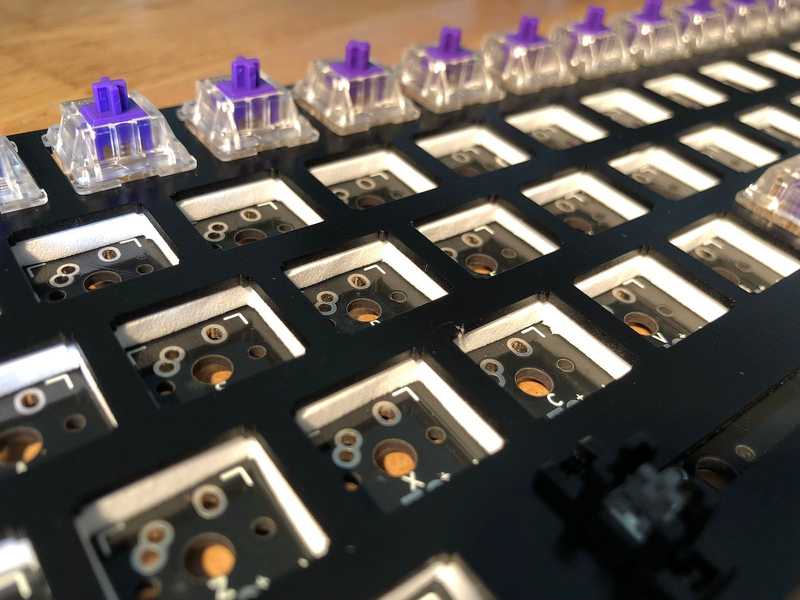 All corners and the top row done. The foam rubber still fits perfectly.
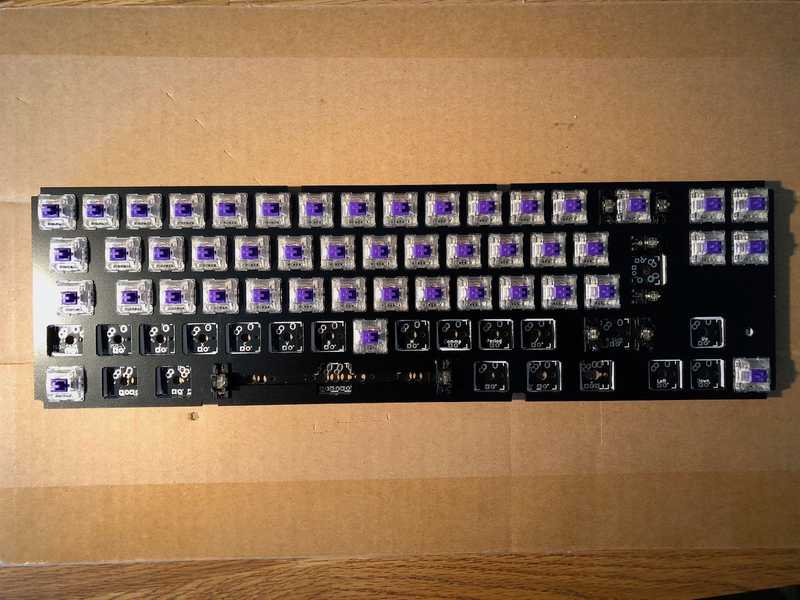 Almost done.
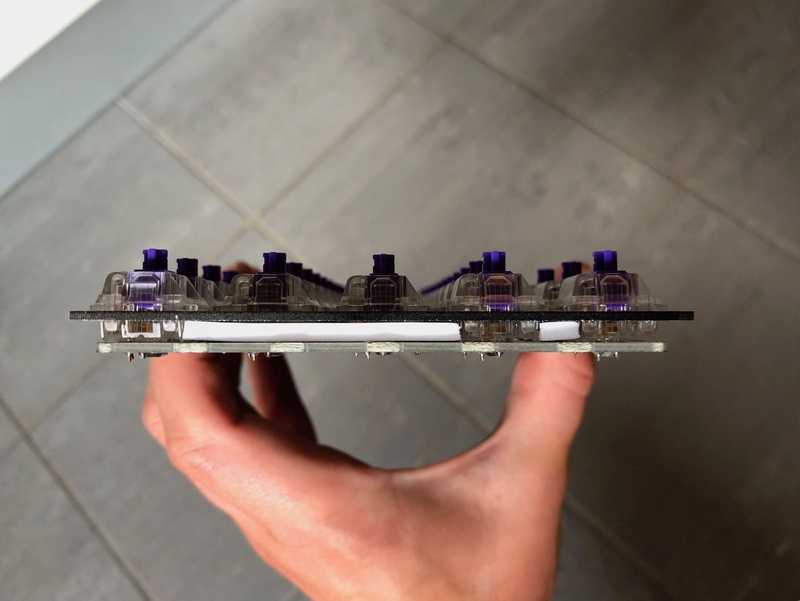 Had to cut the sides of the foam rubber between the plate and PCB to make it fit in the case but the size was just
perfect. This will contribute to a nice and deep sound inside the aluminium case.
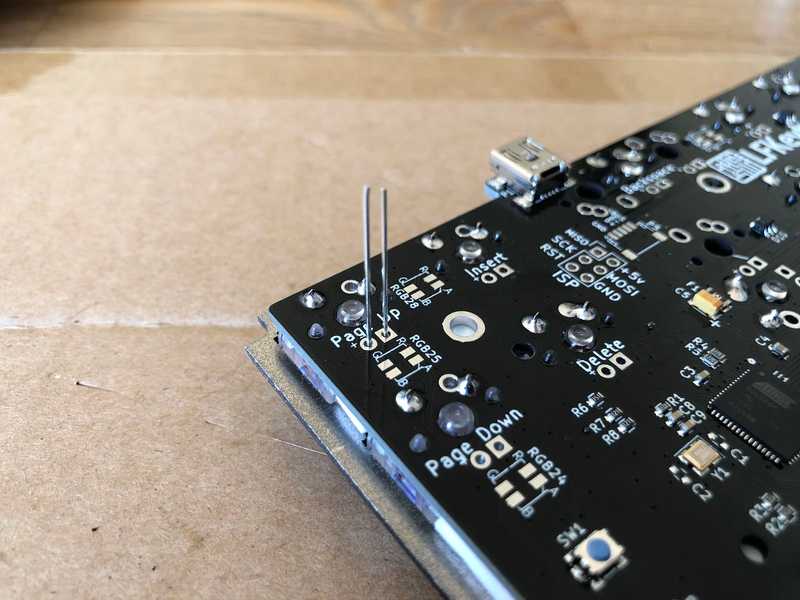 Now it's time for the LEDs.
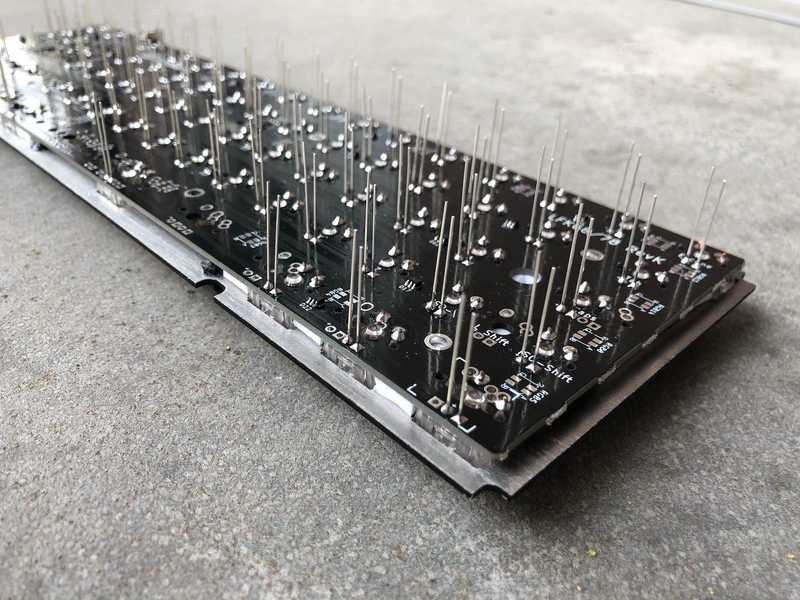 A nice anode and cathode forest.
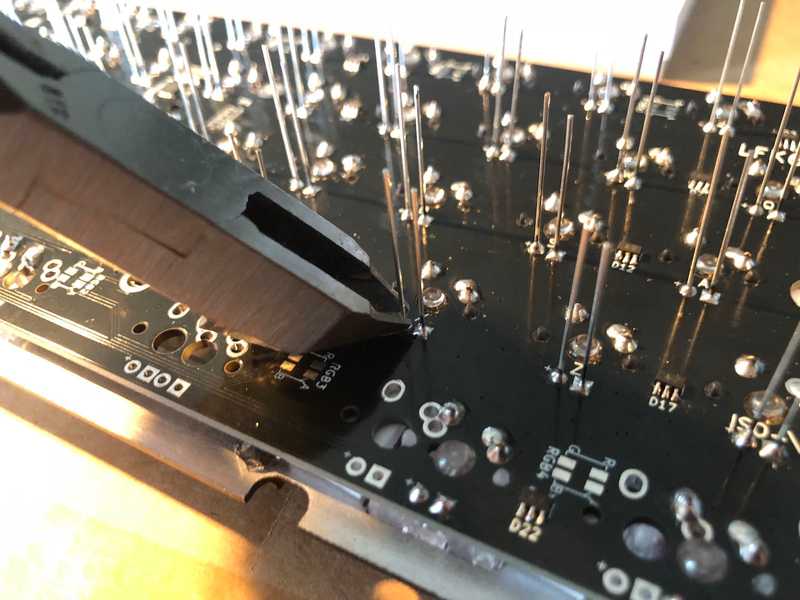 Unfortunately it wouldn't fit nicely in the case without being cut off.
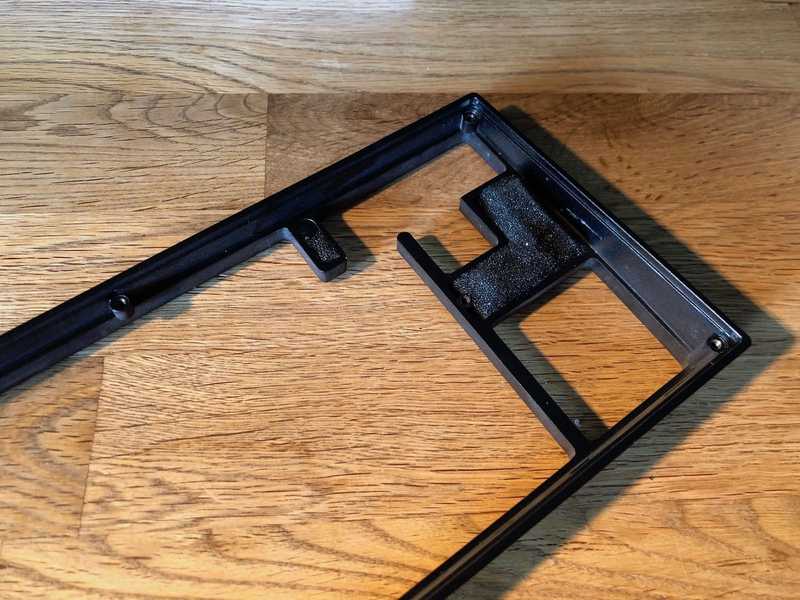 It probably doesn't do much for the sound but I fill all cavities with dampening material.
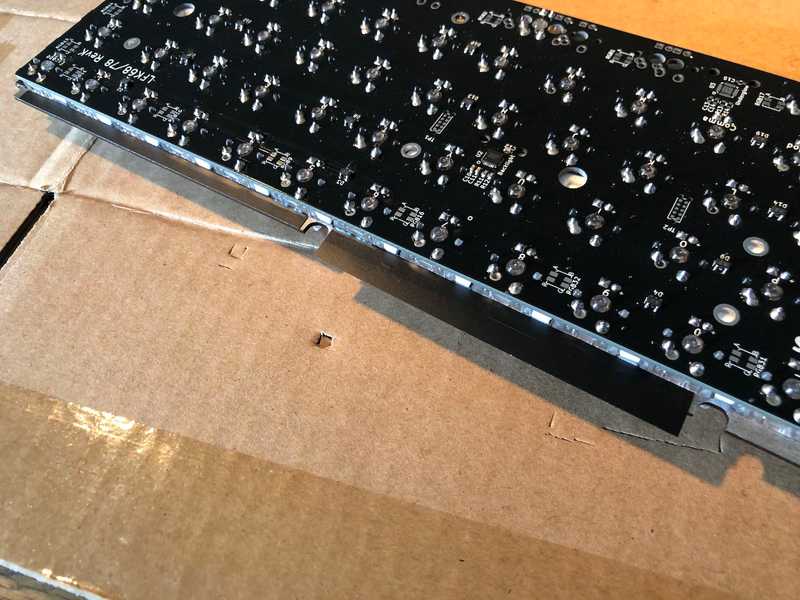 I put electric tape where the plate is laying against the case for decreased acoustic resonance.
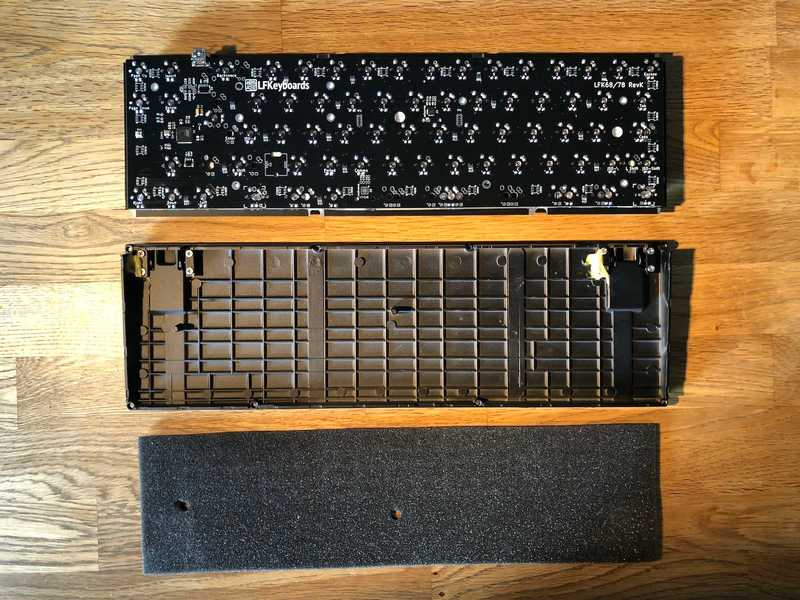 A piece of foam rubber was put in the bottom of the case for... you guessed it! Decreased acoustic resonance.
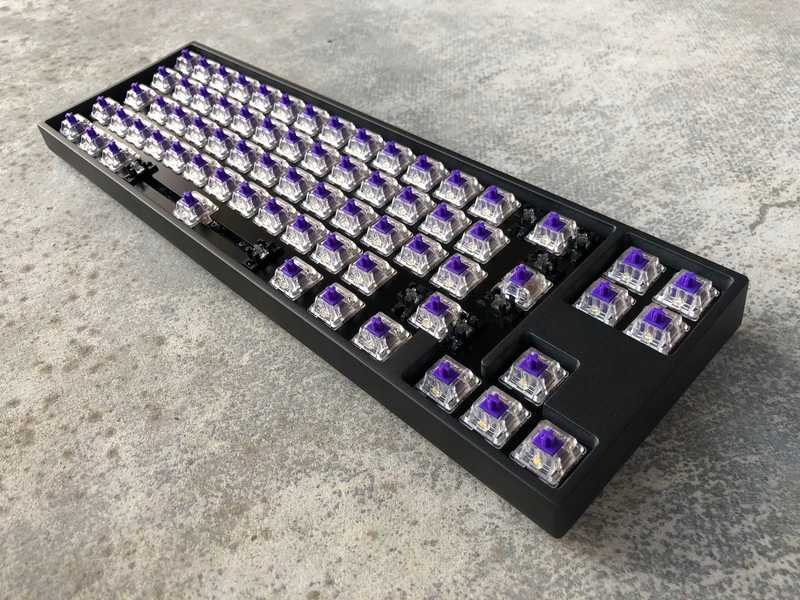 Installed in the case, all nude without caps.
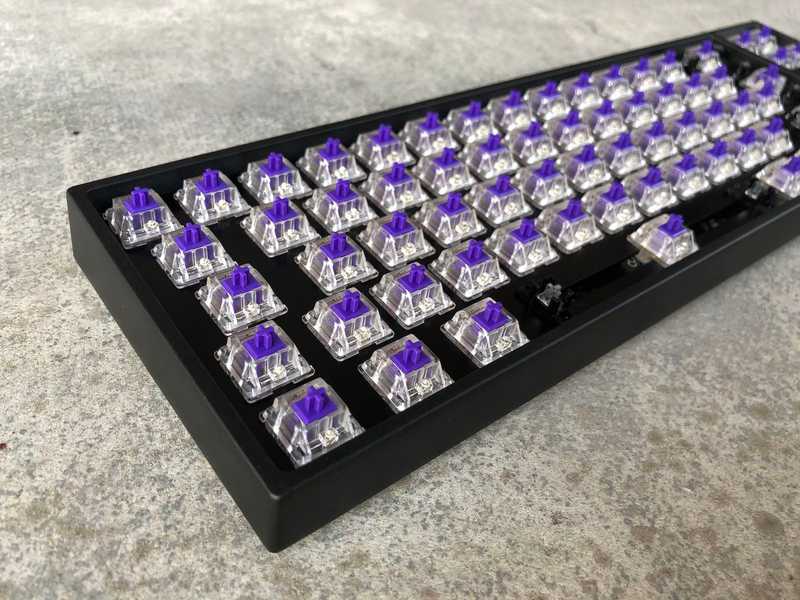 Another view.
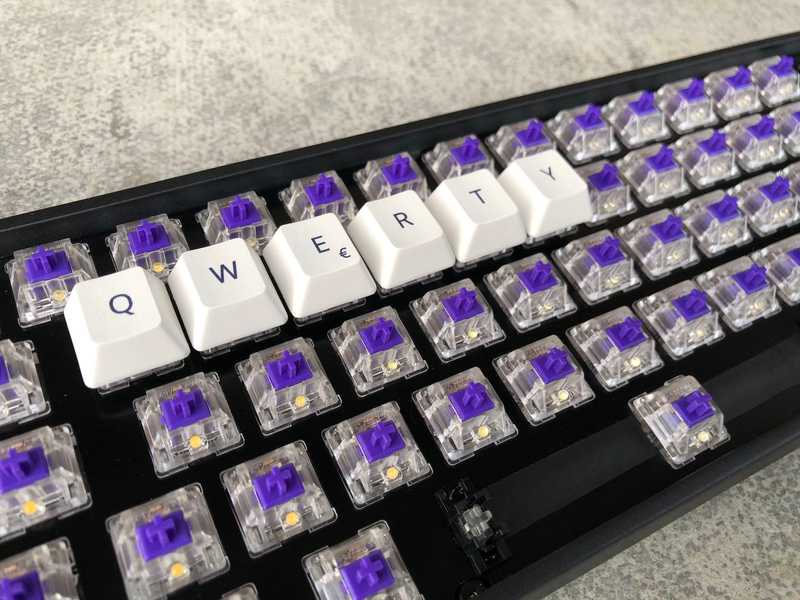 Start adding the keycaps. Also added some tape at the space bar to avoid dust getting in the case.
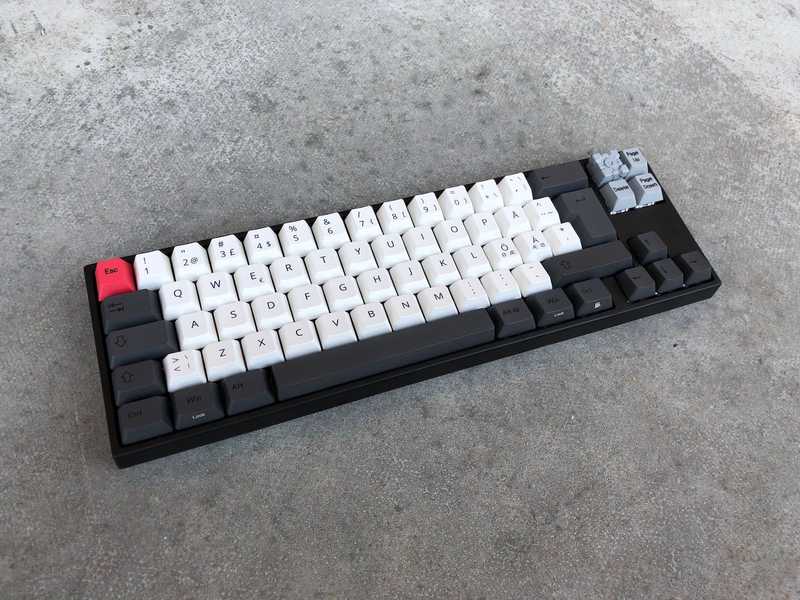 All done!
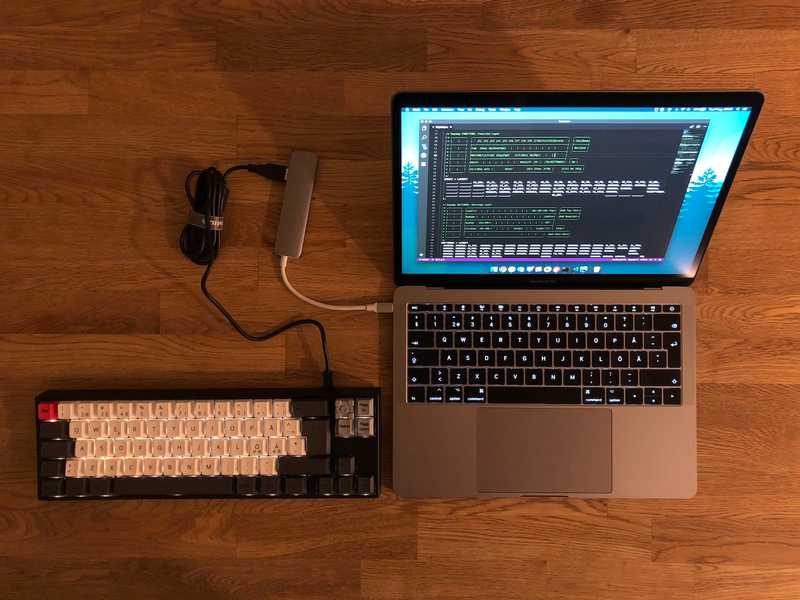 Programming the keyboard running QMK.
Some more pictures
