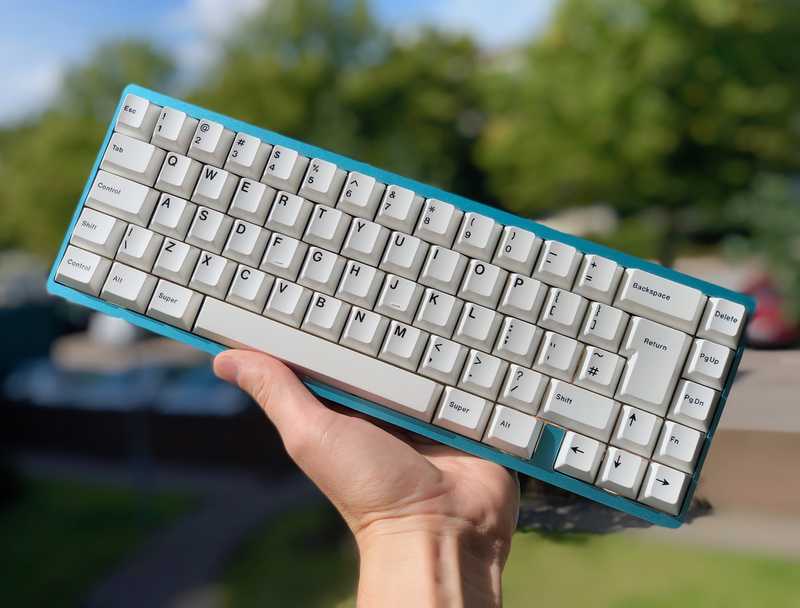
Quiet Keyboard Build - KBD67 with Zilents v2
Time for another build. For this one I wanted it quiet and small but still with nice, tactile switches. My current board had Zealios v2 67g but they were slightly too heavy and way too loud to be my daily driver. The tactility was great though so there being an option for similar switches but much more quiet and a little lighter was an easy choice. The Zilents v2 62g by the same manufacturer, ZealPC.
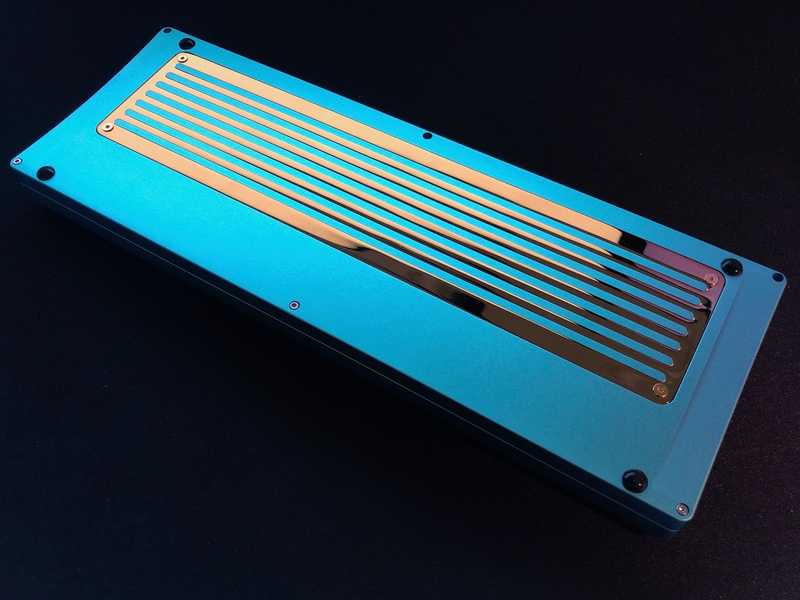
For the case I wanted something small like a 60% but with arrow keys and a default bottom row layout. The choice here was also quite easy. The KBD67, a 65%-ish keyboard with a brass plate and extra brass weight underneath, making it heavy and robust. The extra weight and solid build quality should be great for a quiet build.
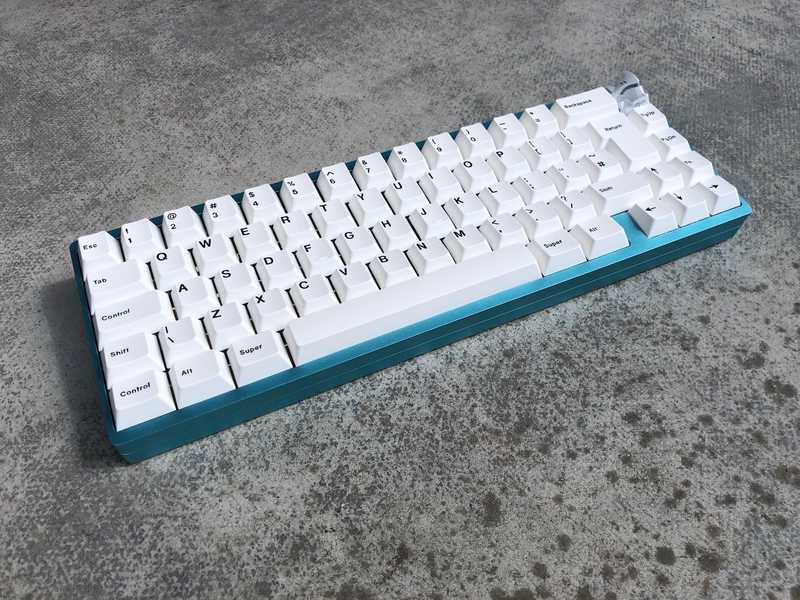
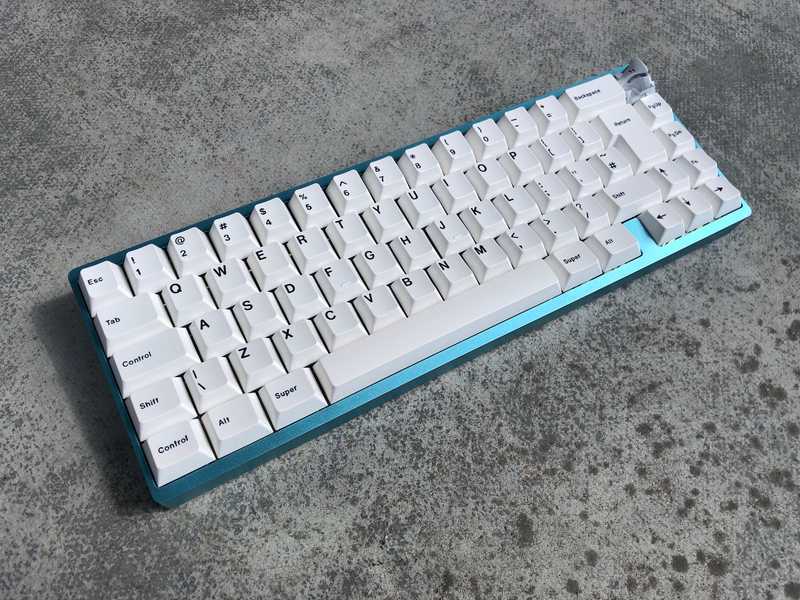
Before we start though, here's what we will build:
Parts:
- Case: KBD67 Cyan
- PCB: KBD67 rev1
- Plate: KBD67 Brass Plate
- Switches: Zilents v2 62g
- Stabilizers: Zeal Gold Plated PCB Mounted V2
- Keycaps: GMK Minimal BoW
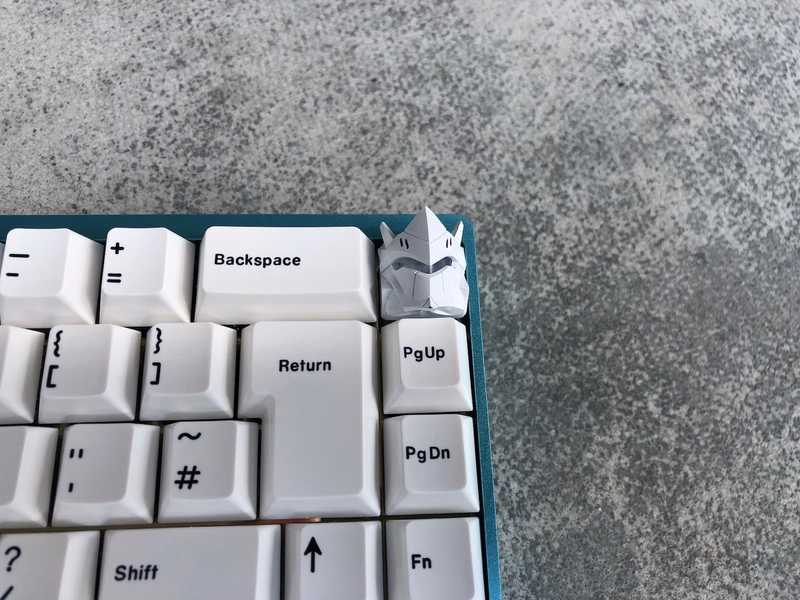
- Artisan: Clackeys Genkey White
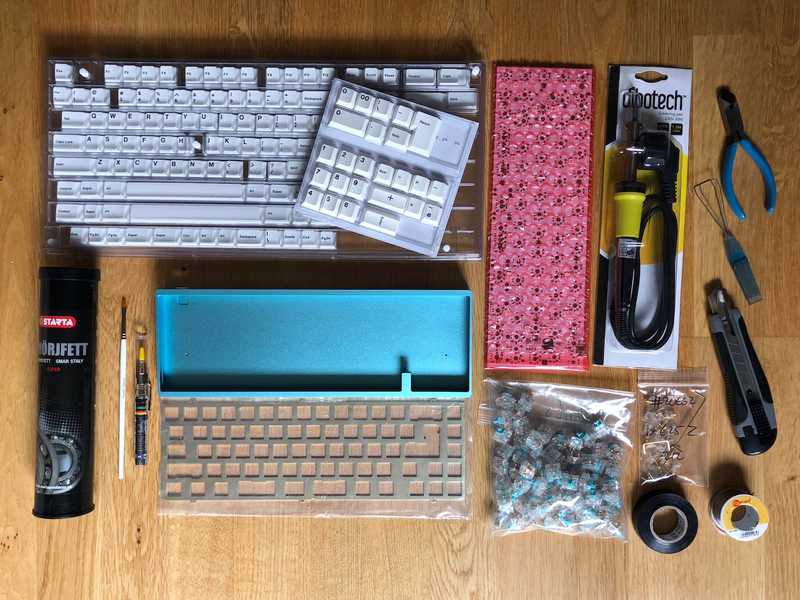 An overview of some of the parts before building.
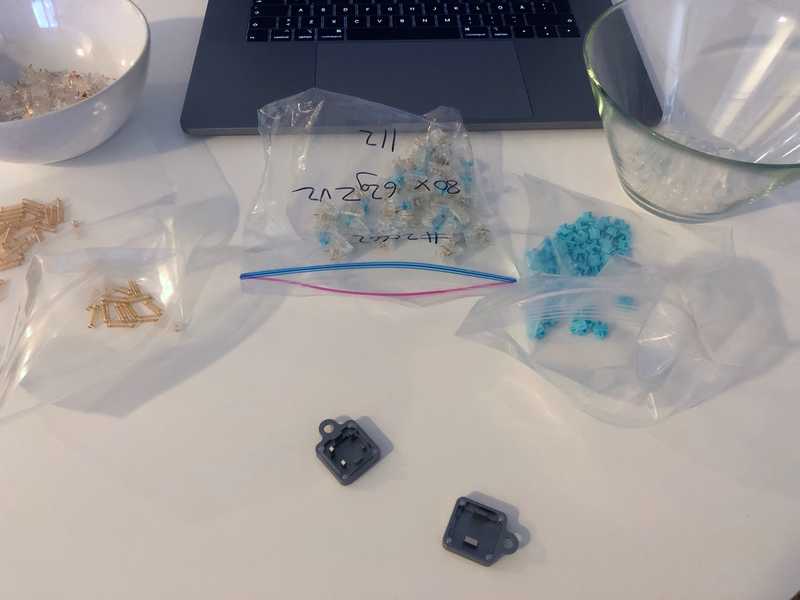 For best sound all the switches were lubed. My back still hurts.
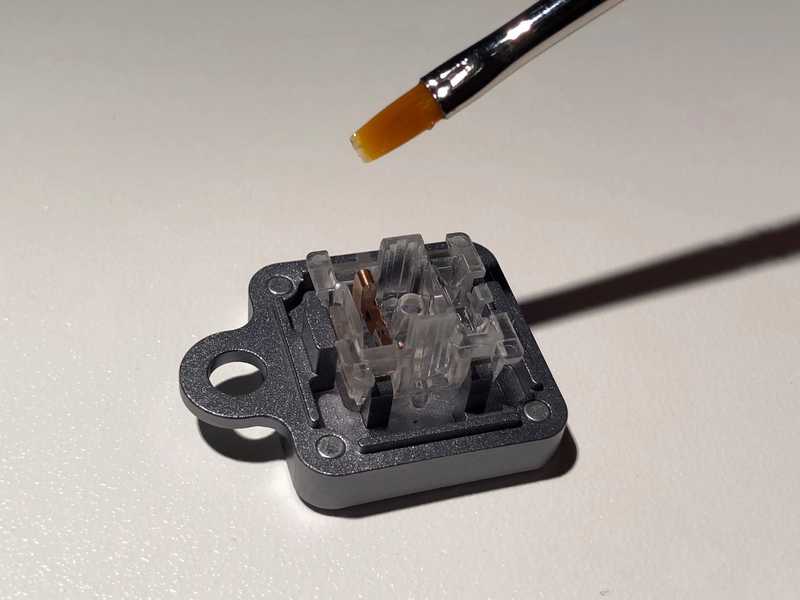 Ths inside of the housing was lubed where the stem slides against the walls.
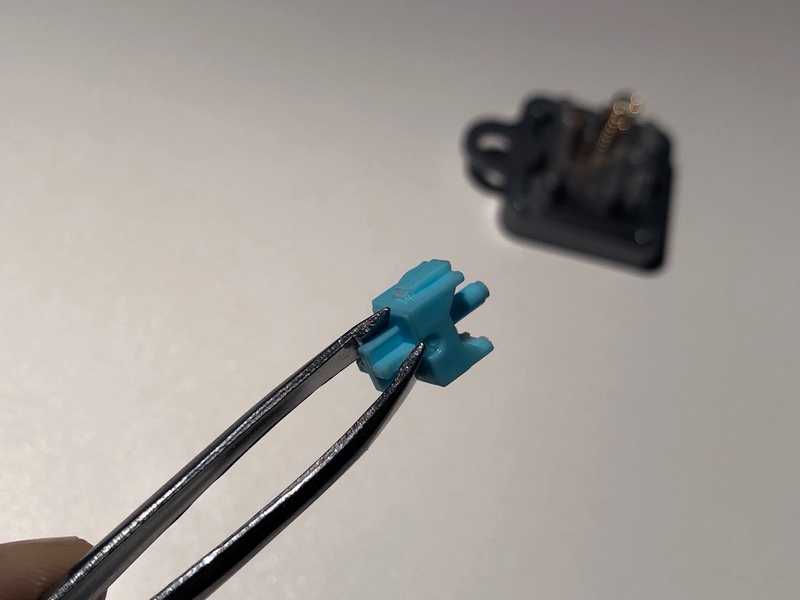 The back and sides were lightly lubed.
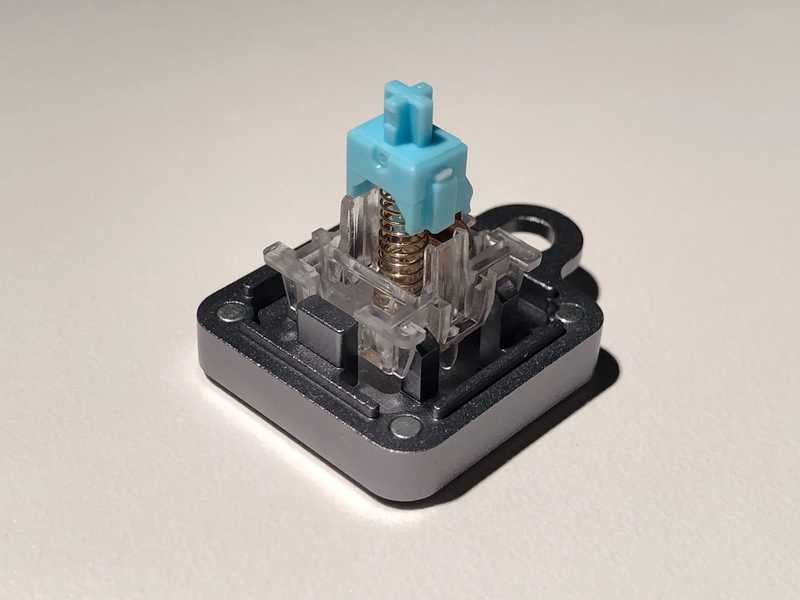 All the springs were bag lubed. I put them all in a zip lock bag with some lube and then shaking for a couple of minutes.
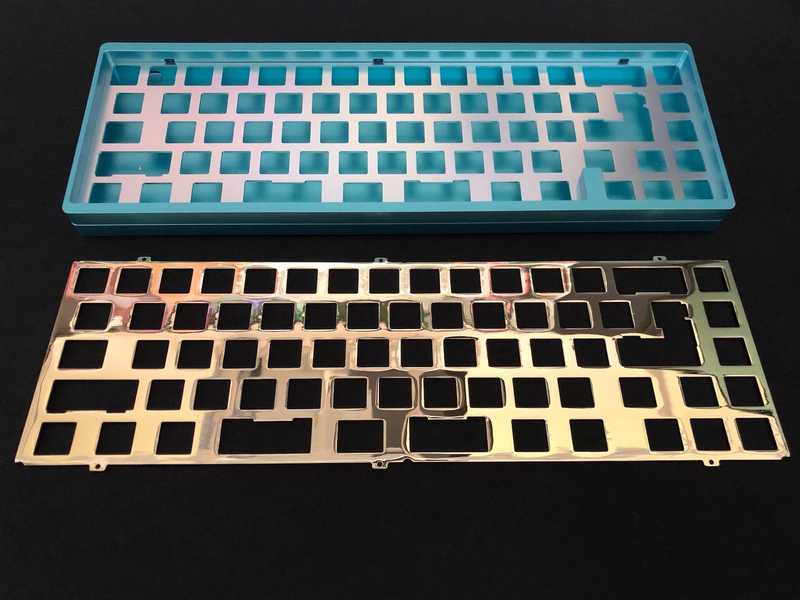 The default plate was made of aluminum but a brass plate is much more sturdy (and way heavier).
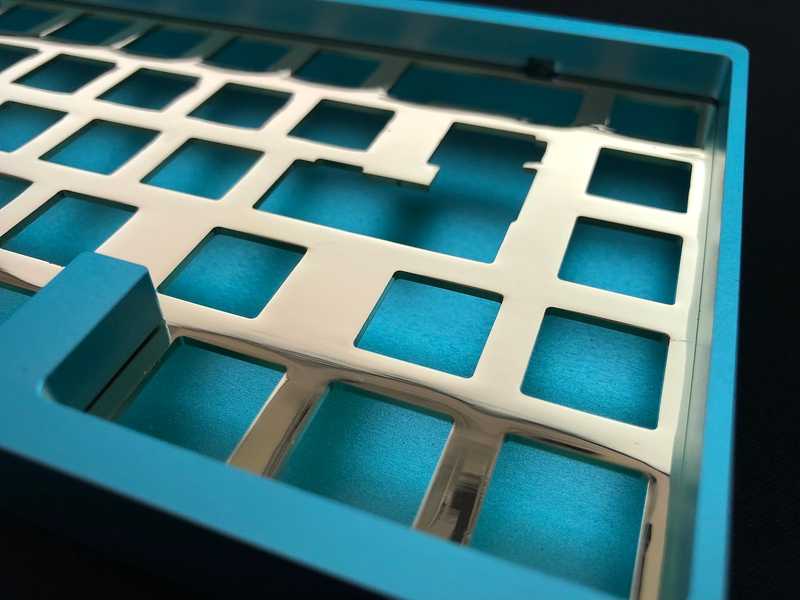 The color works good with the cyan in my opinion.
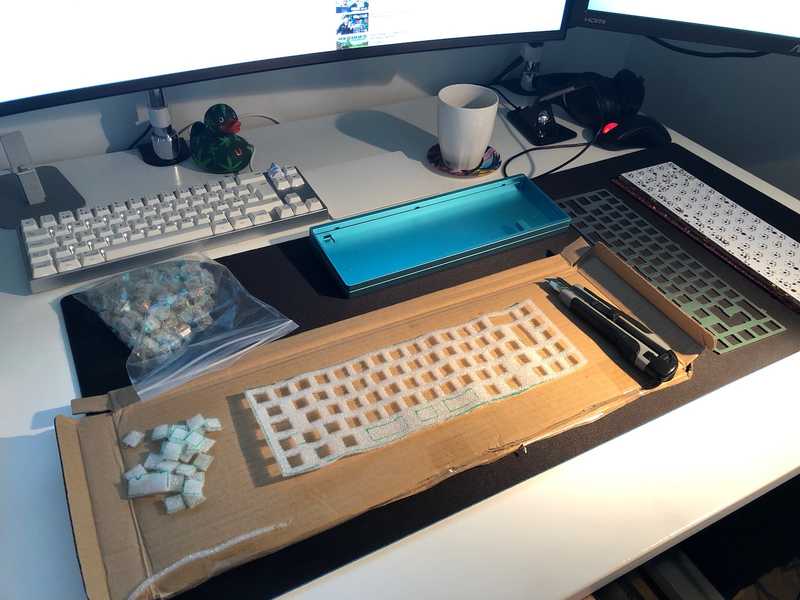 A messy desk while cutting the foam to be placed between the PCB and mounting plate.
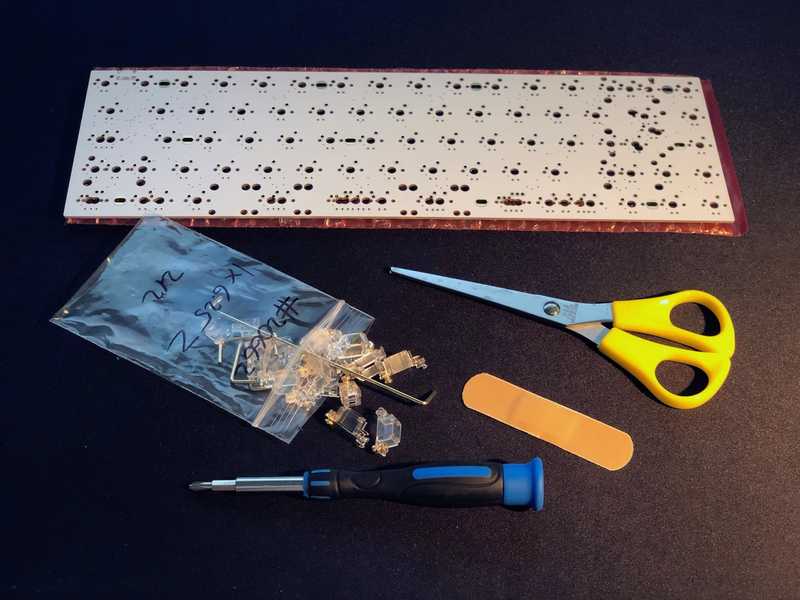 Stabilizers hitting the PCB isn't that great for a quiet keyboard. Easily fixed with the "band-aid mod" (even though any brand works of course).
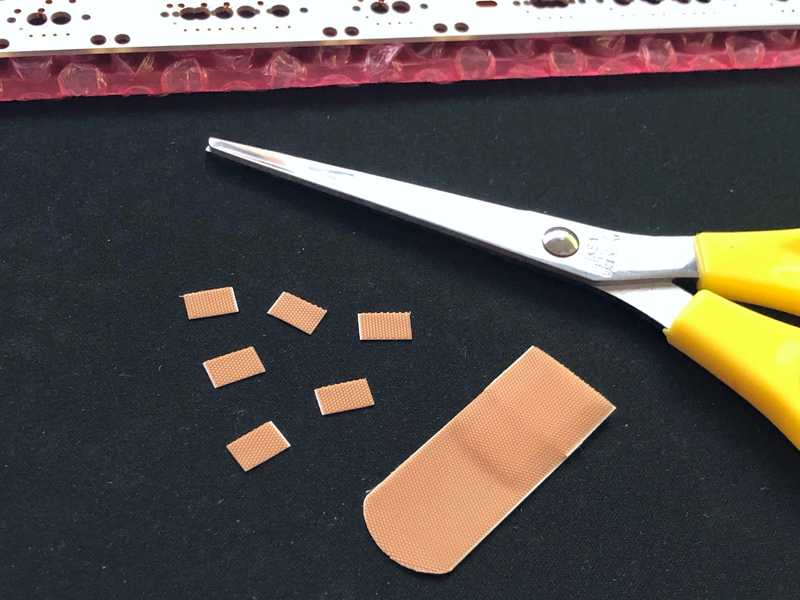 Cutting small pieces of adhesive bandage to be placed on the PCB.
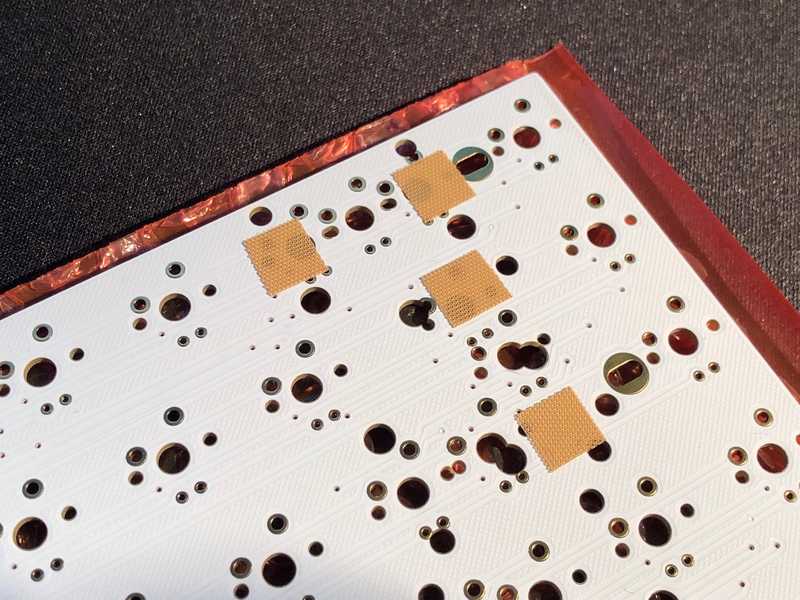 Place the adhesive bandages on the PCB.
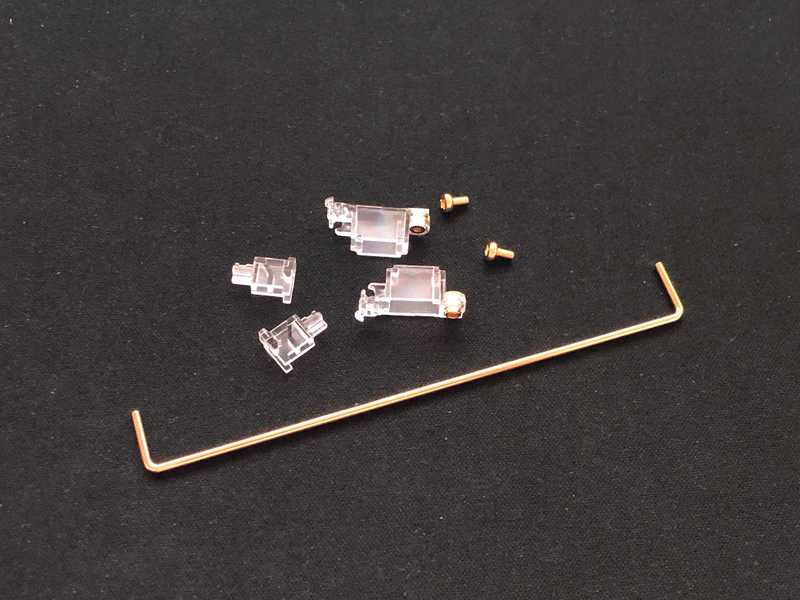 Then it was time to lube the stabilizers with dialectric grease. Lubed inside the housing and the parts where metal meets plastic.
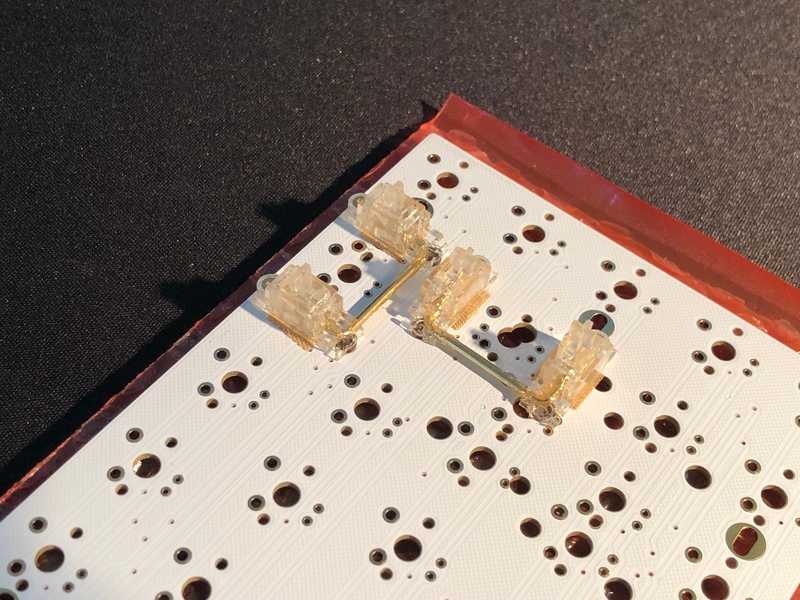 All put together. Will dampen the sound of the larger keys.
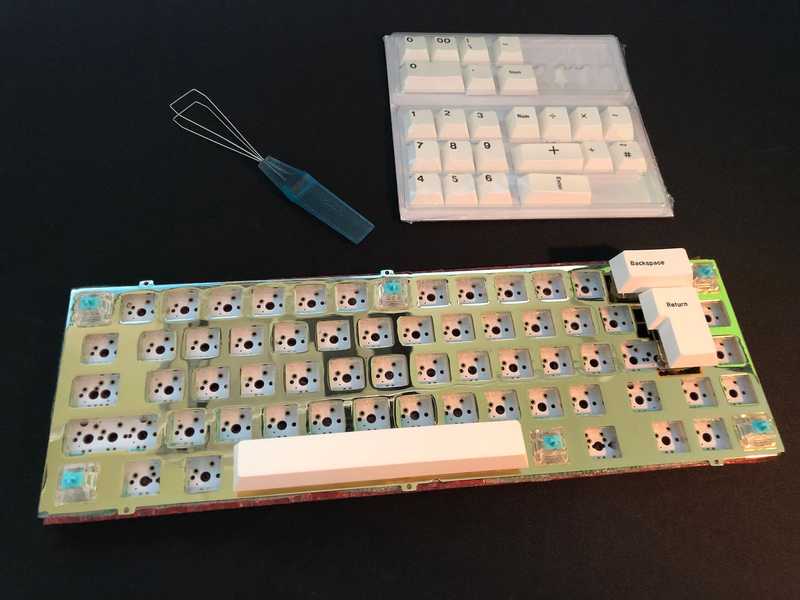 To make sure they are lubed and screwed in properly it's a good idea to test them before soldering.
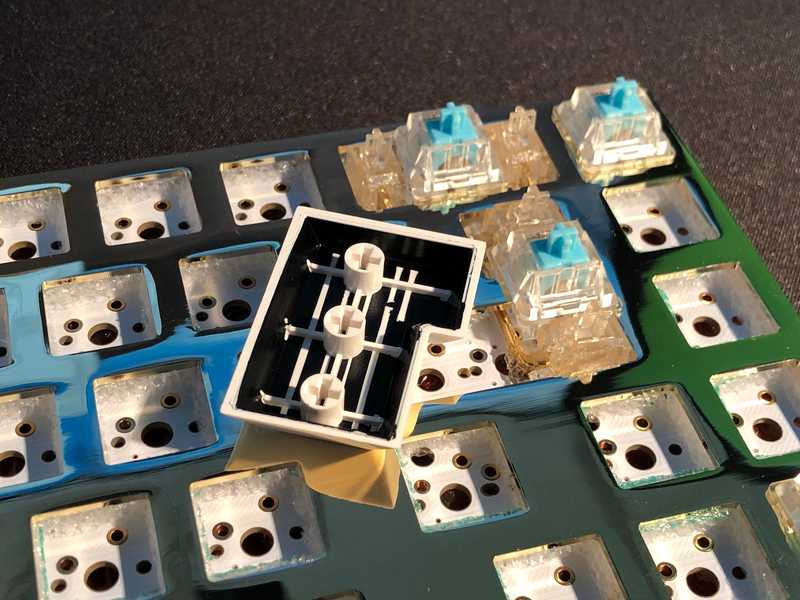 The keycaps are made of double shot plastic for better wear and tear.
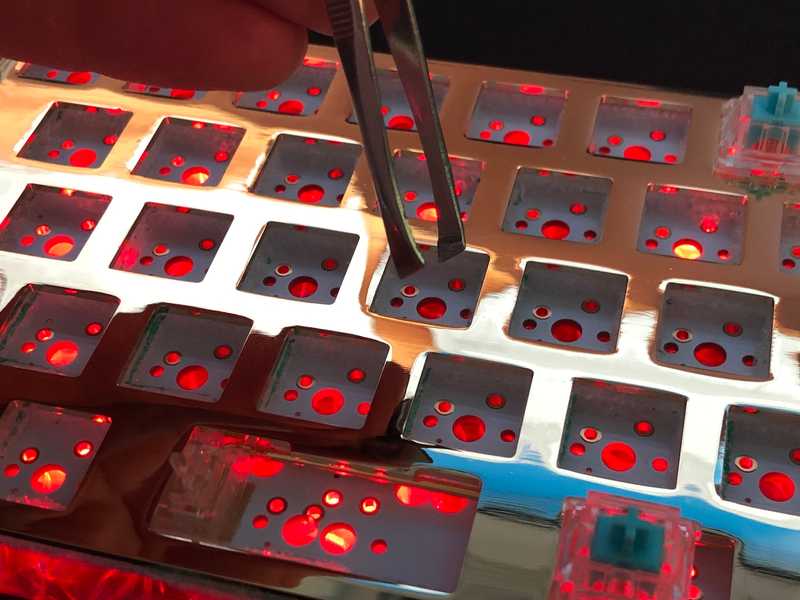 This should probably have been done earlier but testing the PCB so everything works. Easily done with Karabiner-EventViewer. The PCB had red under glow on by default but was disabled when flashing the PCB.
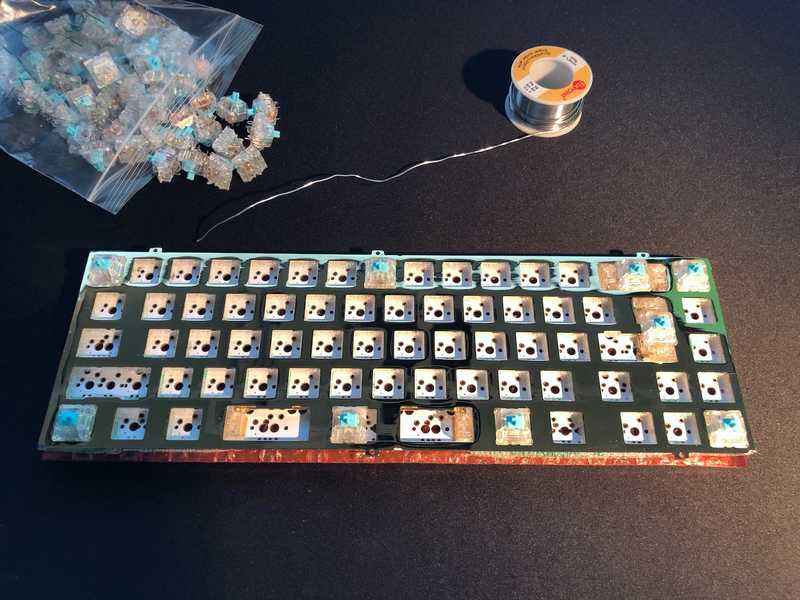 Time for soldering. Starting with the corners to keep it all in place before doing the rest.
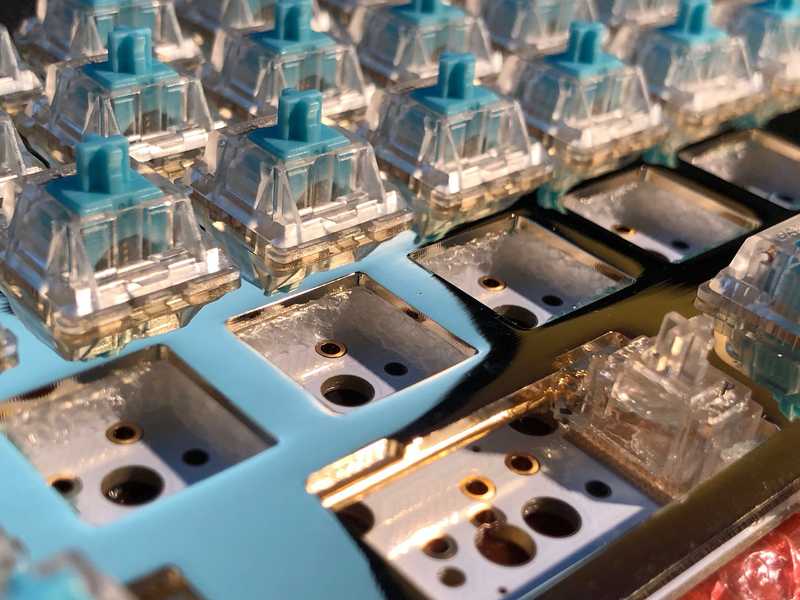 Going row-by-row from the top.
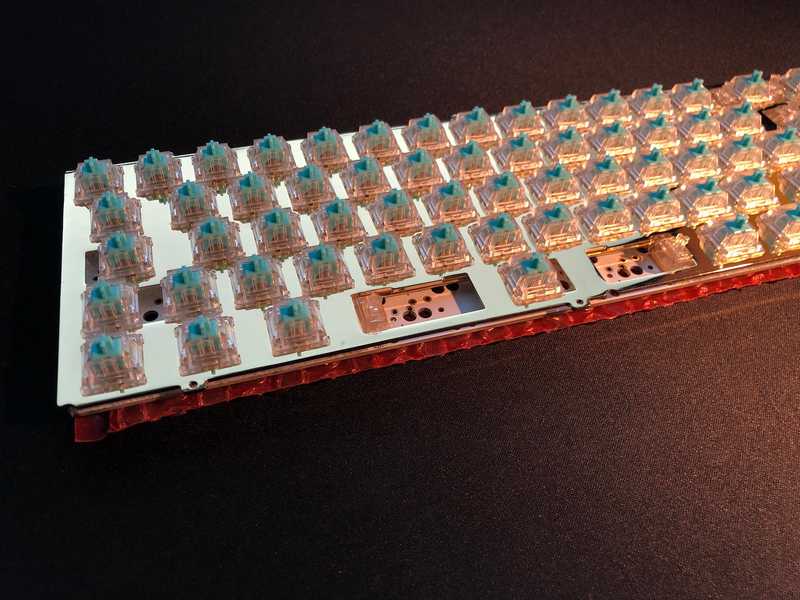 Everything soldered together and it still works when testing, great success!
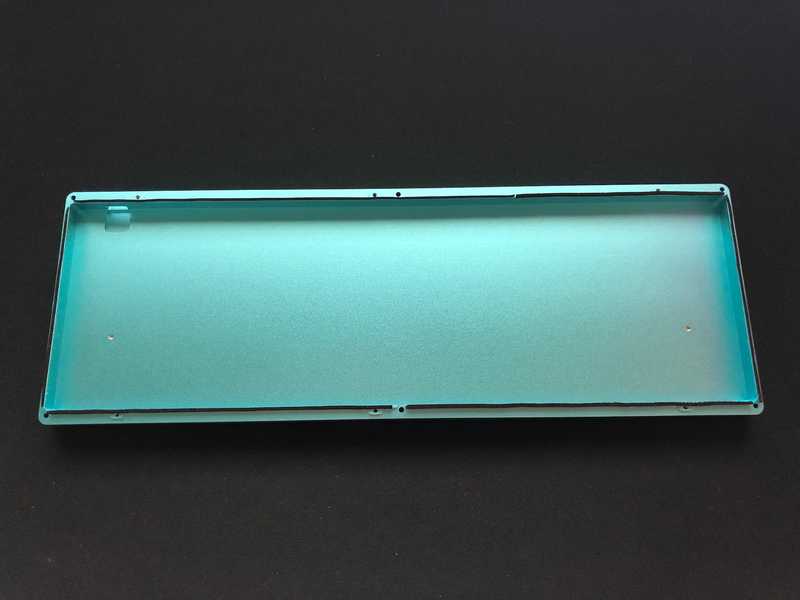 To minimize resonance I try to isolate the plate from the case as much as possible. Cut small strips from thin foam rubber.
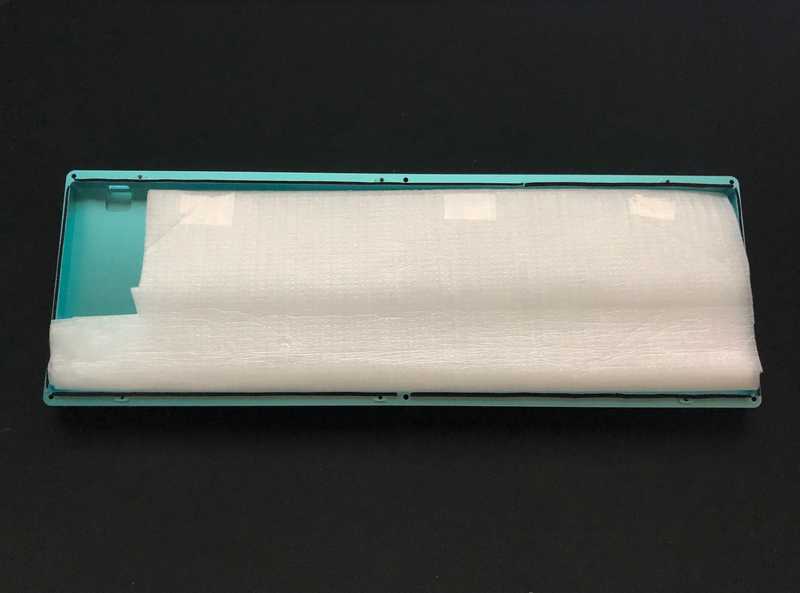 By adding some dampening material inside the case I hope to make the sound a little better.
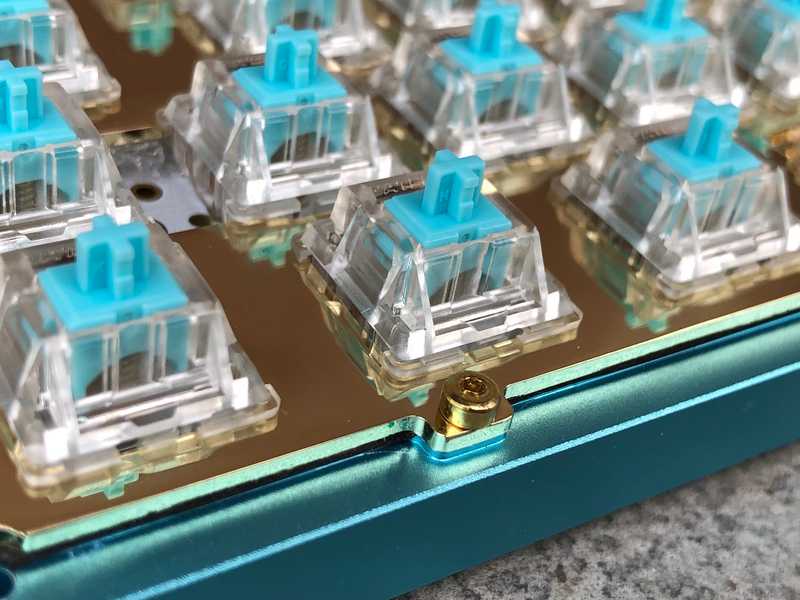 Mounting the plate to the case.
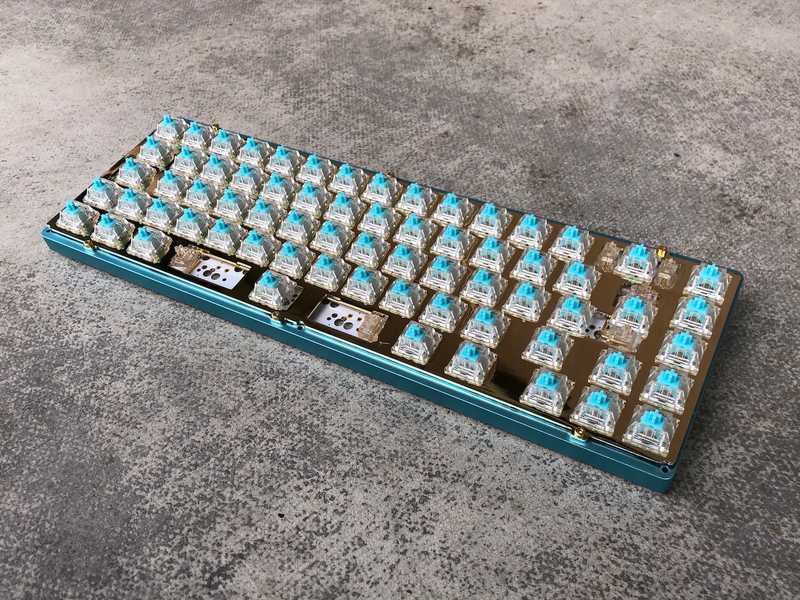 Looks pretty good with the brass plate.
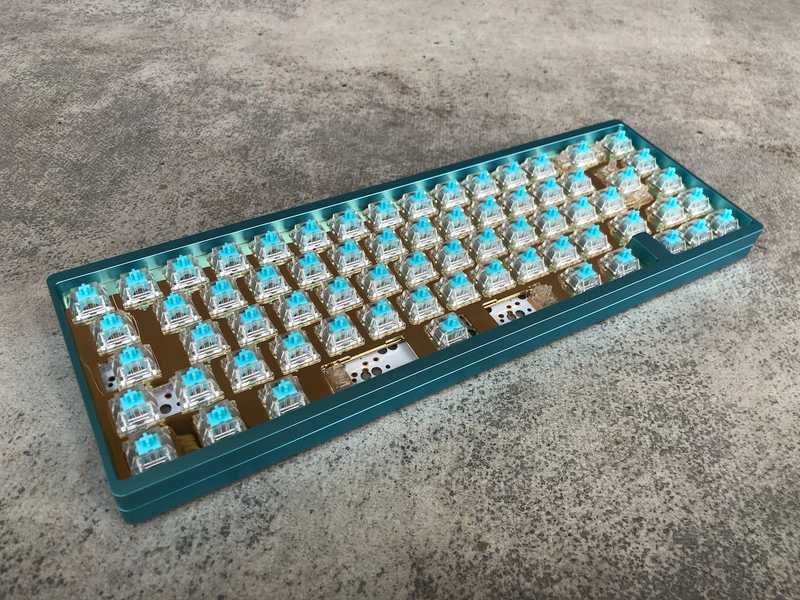 The top case put on. Making it even more compact and solid.
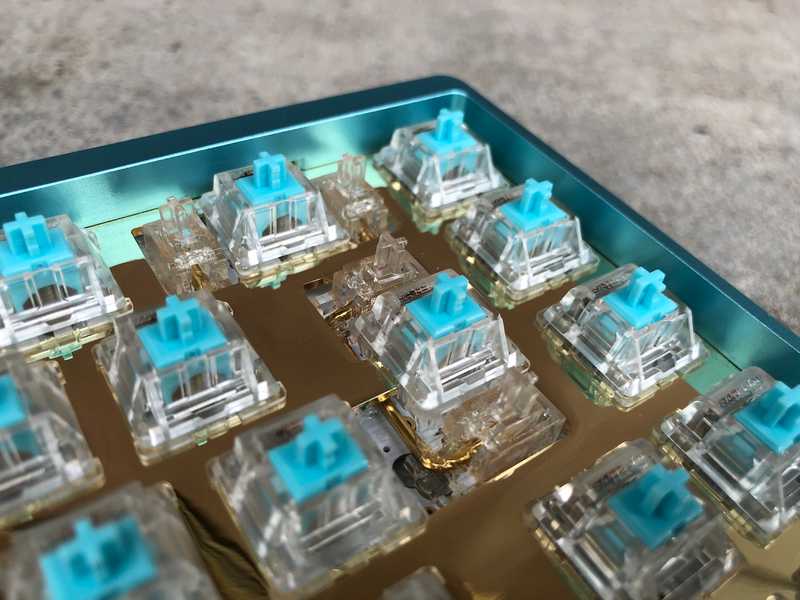 The top case also got a couple of dampening foam strips between it and the plate.
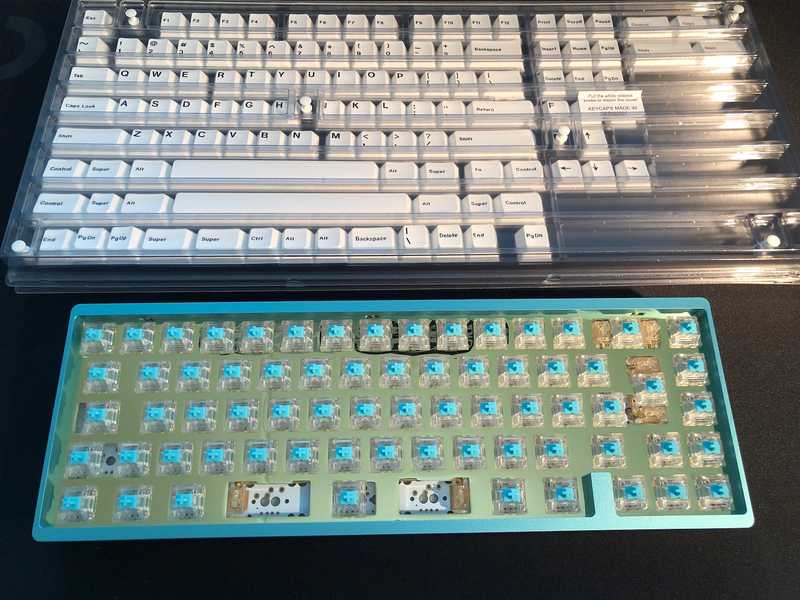 Time to put on the keycaps.
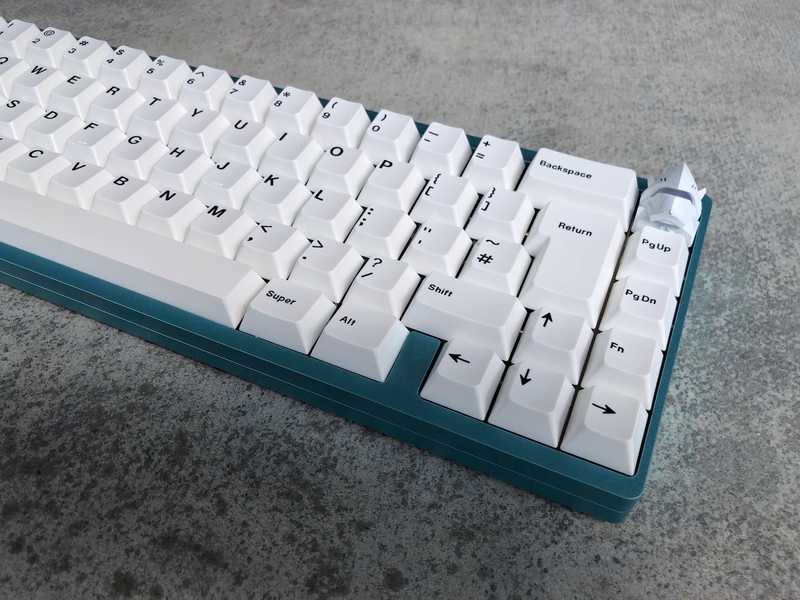
And everything is done. It is really quiet... and heavy. Currently I'm trying out the international ISO layout but have the nordic keys if I need to change. The nordic layout sucks for development but unfortunately we still have to use Å, Ä and Ö when writing Swedish.
Here's some more picture of the finished board.
